Articles & photos
| Back |
XB12X cylinder Buell M2 Engine mount, XB12X Pully
6-2-2019 - What did we do today: 22-6-2018: Buell XB12X rear cylinder of, Buell M2 broken engine mount, Buell XB12X pully replacement
rear head of the Uly.. looks very nice with 70K
 push rod cover of and protect the lifters from debris

rear bore looks even better than the front one

but here to the 2e compression ring is starting to wear out
 so temp strap in the left overs.. and part it untill the cylinder are back
.jpg)
stuning consition M2 brought in from Germany for some repairs
.jpg)
front engine mount broke

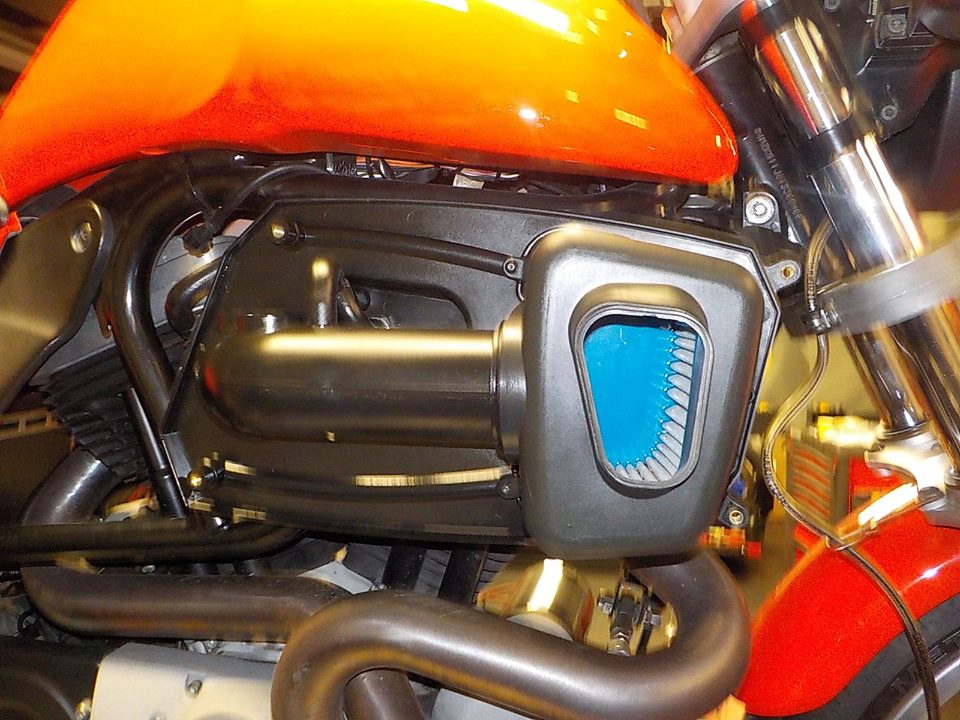
i first take off the airfilter unit as this is holing up the engine now
the lower end rear bolt out

the top right one is in the housing it self not in the pipe .. remove the breather bolt

engine lifted a little .. and box removed

1 bolt still in

the other one is broken od

looing at the markings. been loose for some time , these bolts need preload.. other wise they are not strong enough

the break is corroded.

also the marking on the head from rattleing
.jpg)
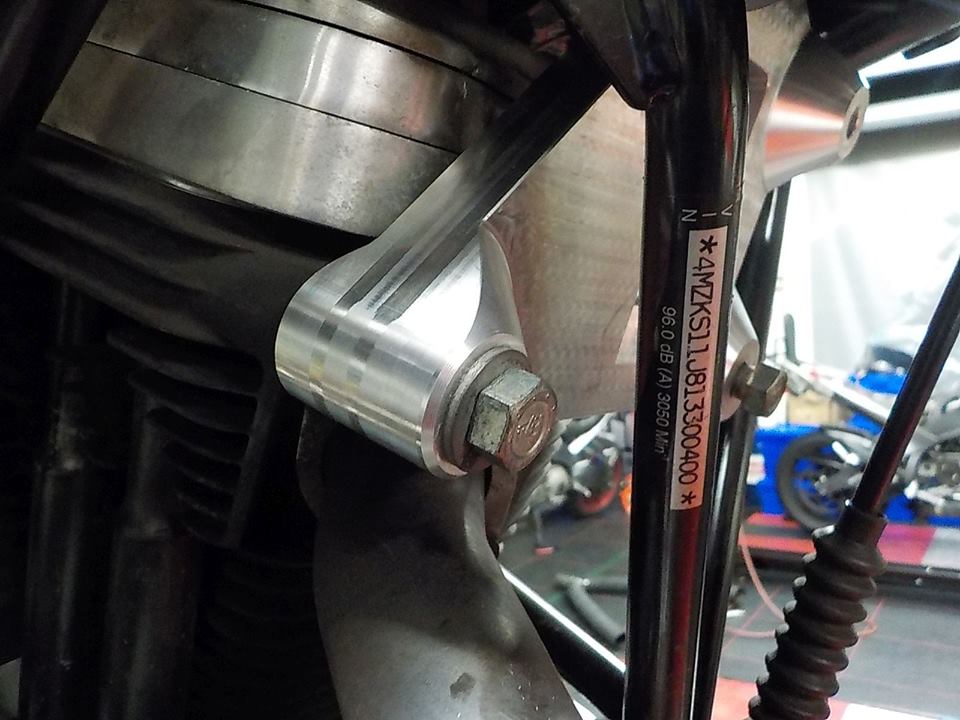
new front mount on. as marking guide
my 10 o clock apointment. new pullies as the old ones are getting sharp, and belts are wearing to fast

and some grime from allot of km .. pully seal ? or base gasket ?
 ok nut rattled loose

belt tension of

and rear wheel out.. bearings are good

front pully of.. douse not like the pully seal.. ( it douse not run up and around the corner )
 idler pully surfance is wearing out

time for a new one.

ilder on

new front pulley.. we have these with very nice pricing
.jpg)
we are replacing the belt to .. to big a crack for comfort

pully bolts out

and new pully on

loctite these bolts

and set theme to TQ specs

with the wheel back in.. belt can be taken of
.jpg)
new belt on.. and swing arm brace in

footpeg bracket back on

and setting the rear wheel to Tq

front pully tight.. and lockplate in position ... she is ready to go.

made a little mark the center tool.. from the broken of piece
.jpg)
with the mount in correctly push the center tool in and dril a center
 now to make some room not to damage

better.. still clutch cable out the way

will clean up these treads

sharp cobalt drill bits.. and a 200LBS pushing weight makes nice spiral swarfs  ;-)
;-)
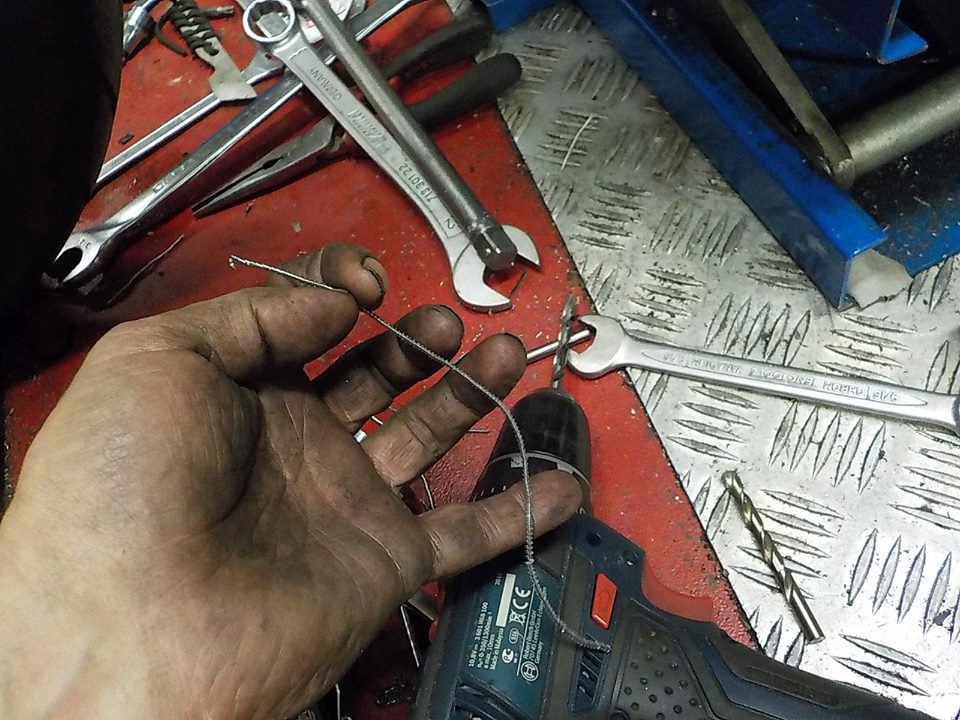
hole trough the left overs
.jpg)
old heavy duty tx bit hammer in the hole drilled

and with some luck you can turn out the piece

the left over piece

as the front engine rubber is also broken.. we first replace this one , as we have more room with the mount of

but we need to take the fuel tank of

fuel hose loose .. don't like the crack .. will replace it
 front rubber

removed
 the new kit.. normaly it came with mounting instuctions.. as the construction has changed , was not in this kit

luckaly i dont trough these away,, kept a old one ;-)

so flat side up

and the stubber ring on top of the mount
.jpg)
bolts on

engine mount bolts.. using new ones after a break is better.. some lube on the shaft.. and red loctite on the treads

tighen the bolts.. i do 85 -90 NM

and tighten the front mount bolt

rear wheel out.. for fresh tire

bearings are ok
 need to check the runni, ng. as i see the carb has moved.. because the air filter box reasted on the frame i fear the intake seals are leaking
.jpg)
but first the front tire . axle bolt out
 pinch bolts loose ( metric )

and loosen the disk bolt , so you can remove the caliper with ease
