Articles & photos
| Back |
15-2-2018 XB9R pistonpin, 1125 start striping for
10-5-2018 - 15-2-2018 XB9R pistonpin, 1125 start striping for head removal
after 5 startups and the frist few km's on the dyno to run here in.. i could here a very light rattle, off the throttle.. not valves , no crank.. and you don't here it always.. with the stetoscoop you can here it rear cylinder on the cylinder.. sound like pistonpin bearing is not playing nice.jpg)
so striping.. with every thing clean.. easy and a joy to work on this bike , axle loose
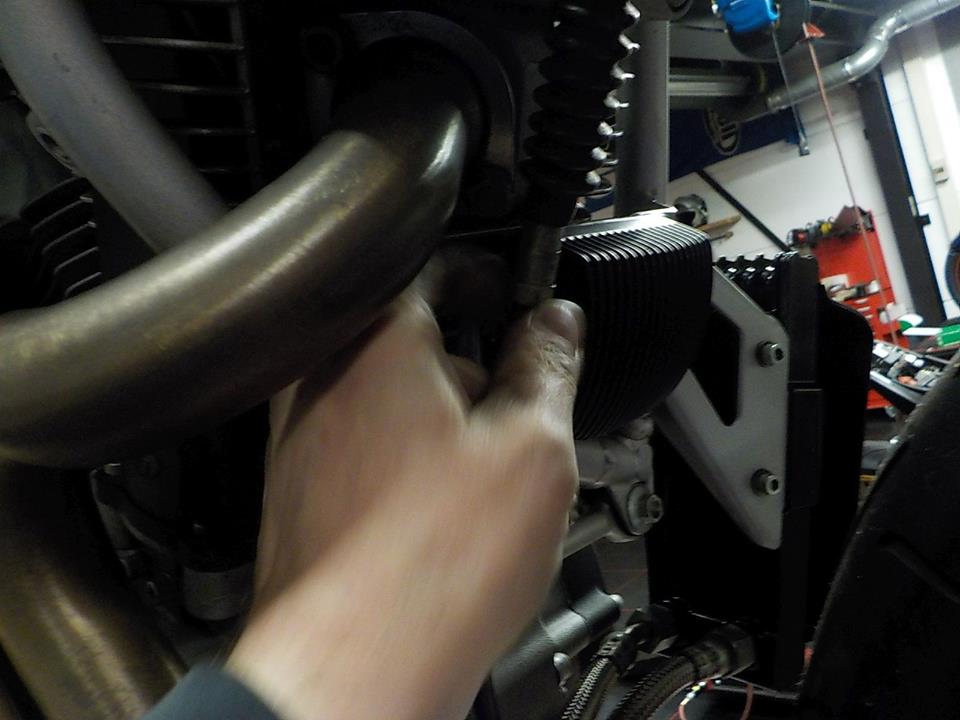
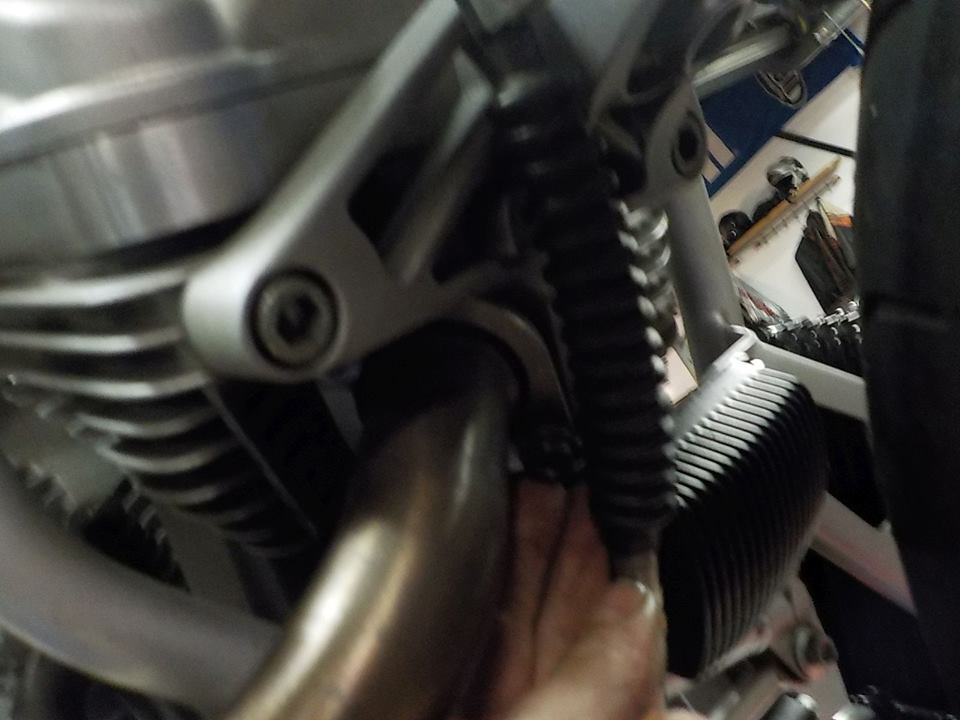
 belt tensioner of

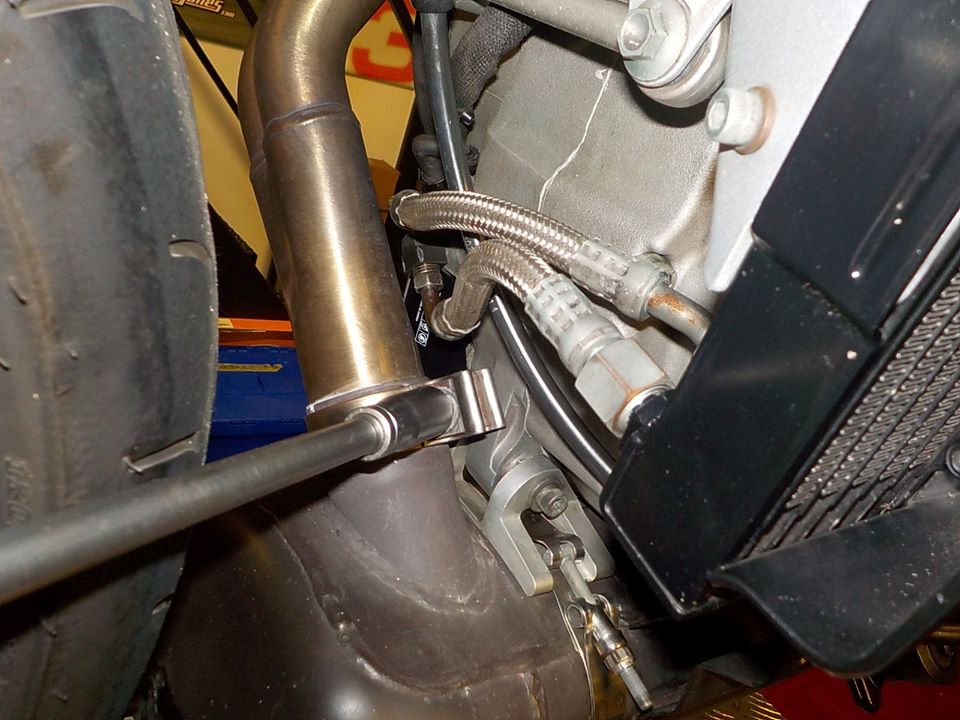
removing the exhaust
and loosening the clutch cable for engine rotation
w-brace loose

and front bolt out

moving to the top.. disconnecting and top tie rod loose

throttle bodie of
head sensor wire and O2 sensor loose ( header removed )

loosen the cover

and first look inside , could still be a broken off bolt, ratteling ( seen this beore )

pushrods out
.jpg)
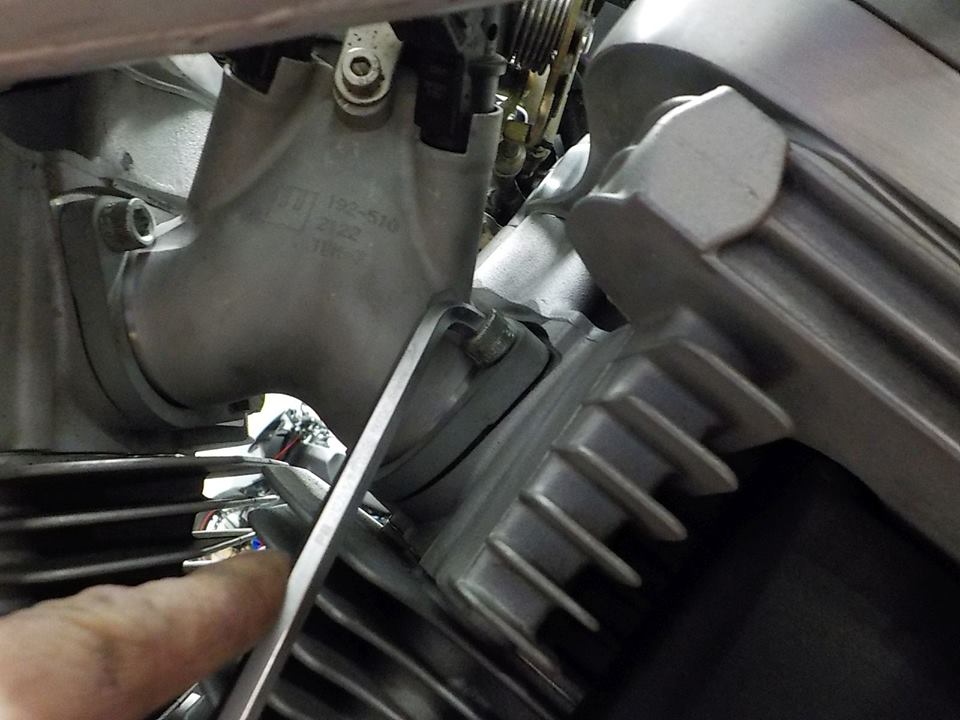
and cylinder head bolts loose
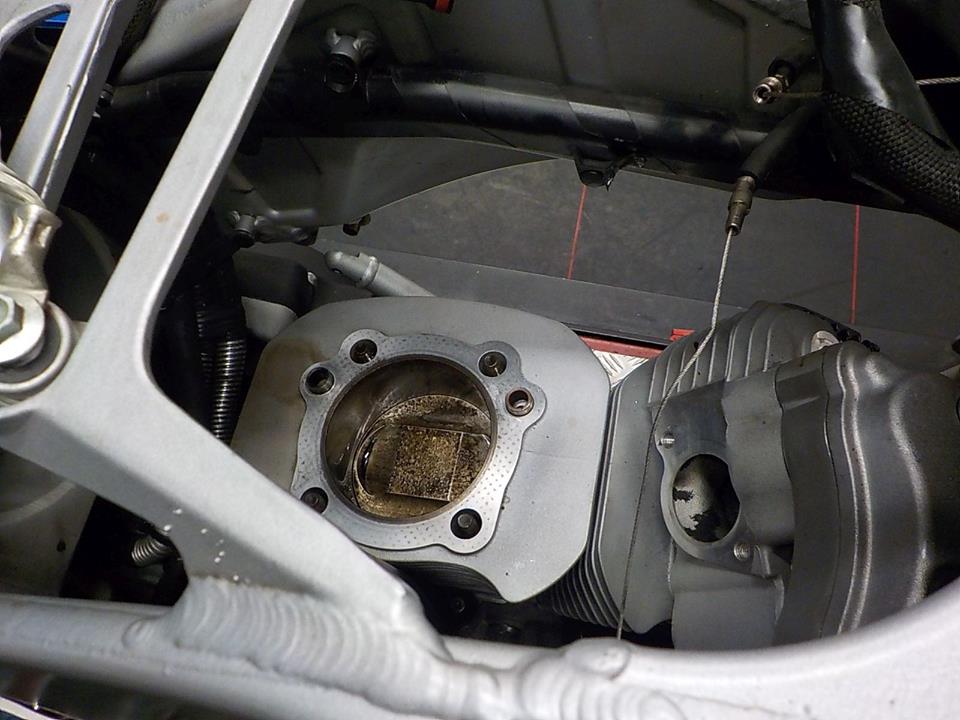
head removed.. first look down.
now first the pushrod cover of
oiling to the heads is good

cylinder looks also good. fresh, still needs to run in.. but looks good
.jpg)
piston cleaned, was some depostit as we did not really get this engine up to temperature yet

ahh bugger.. very hard to feel but it is a little to much. i know XB9 are more toughy about this

so to make a new bushing in.. normaly better to do with crank out but, it can be done with the engine in the bike

first to fixate the rod end. so the bearings will not get a beating
 puller / press toll to press the old one out

so far do good
.jpg) pressing in the new one
pressing in the new one
.jpg)
checking the center of the bushing trough the oiling hole

with the new bushing in.. needs to be reamed to size
.jpg) slow job
slow job

almost there.. needs to slide relative easy, but shouls not feel anyplay

ready.. now forst to clean the debris

cleaning the cylinder and reoil , pison in checking orientation

assembly back on , using a rag in the case, when the piston pin c-clip flies away
 pushrod covers back on

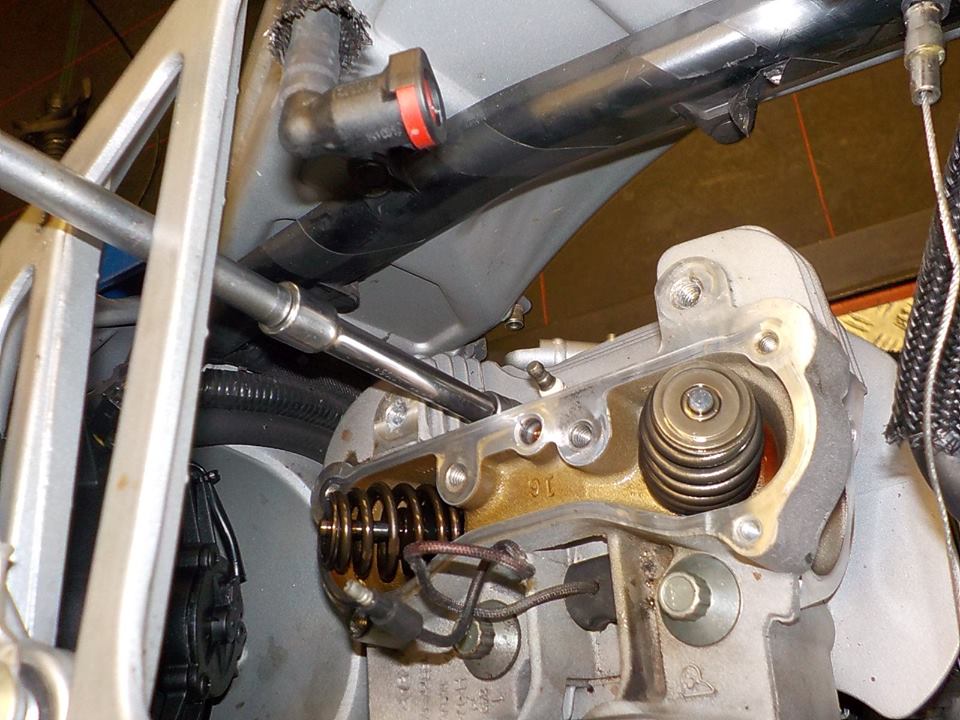
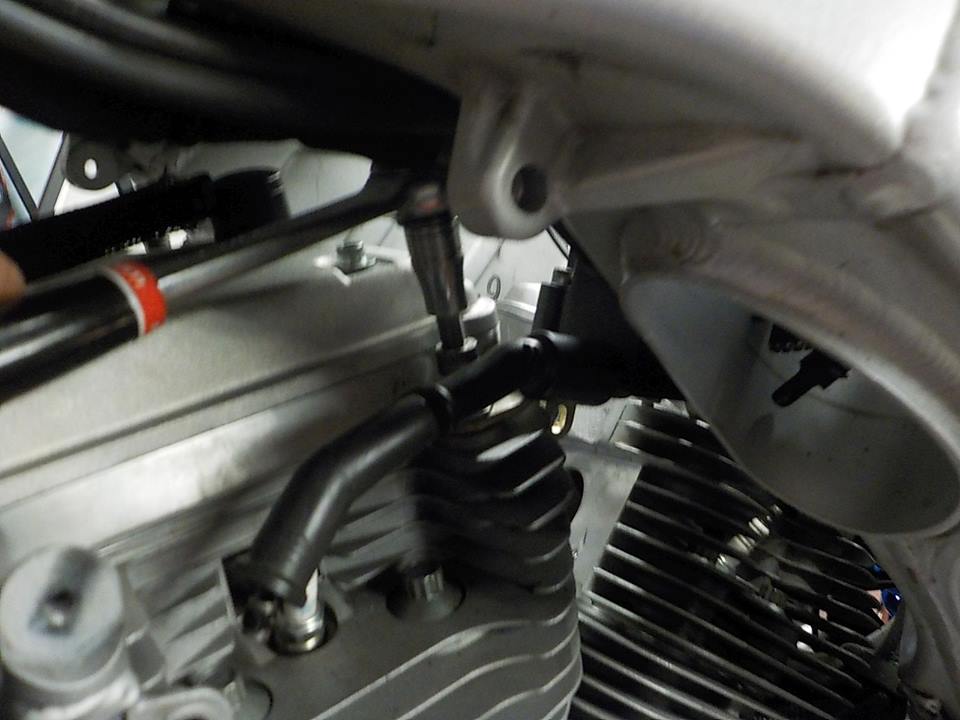
and cylinder head back on

rocker box
and rocker cover back on carefull not to pinch the head temp sensor wire
.jpg)
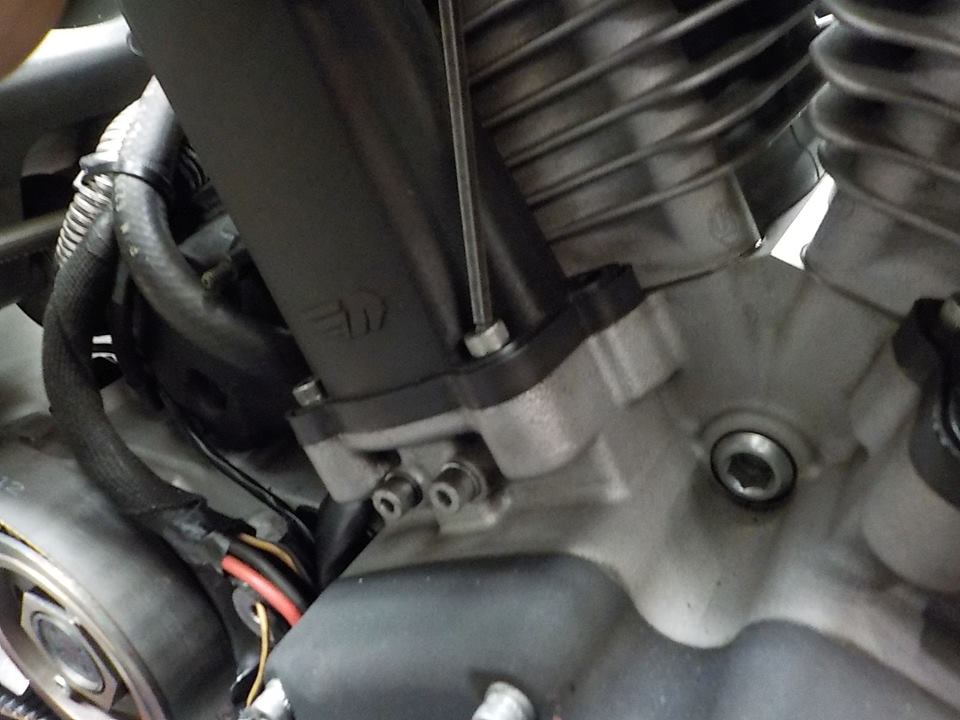
top bracket and coil bracket back on

lyning out the coil bracket so the intake manifold is centered
evenly tighten the flanges
.jpg) headers back on.. very stange to find stock exhaust nuts that are not corroded after 15 years
headers back on.. very stange to find stock exhaust nuts that are not corroded after 15 years
engine up and front mount to 66 Nm

w-brace bolts back in

exhaust on..

betl tensioner back on

and tighten the belt again

turn the rear wheel while you tighten the pully cover, so it douse not rub
.jpg)
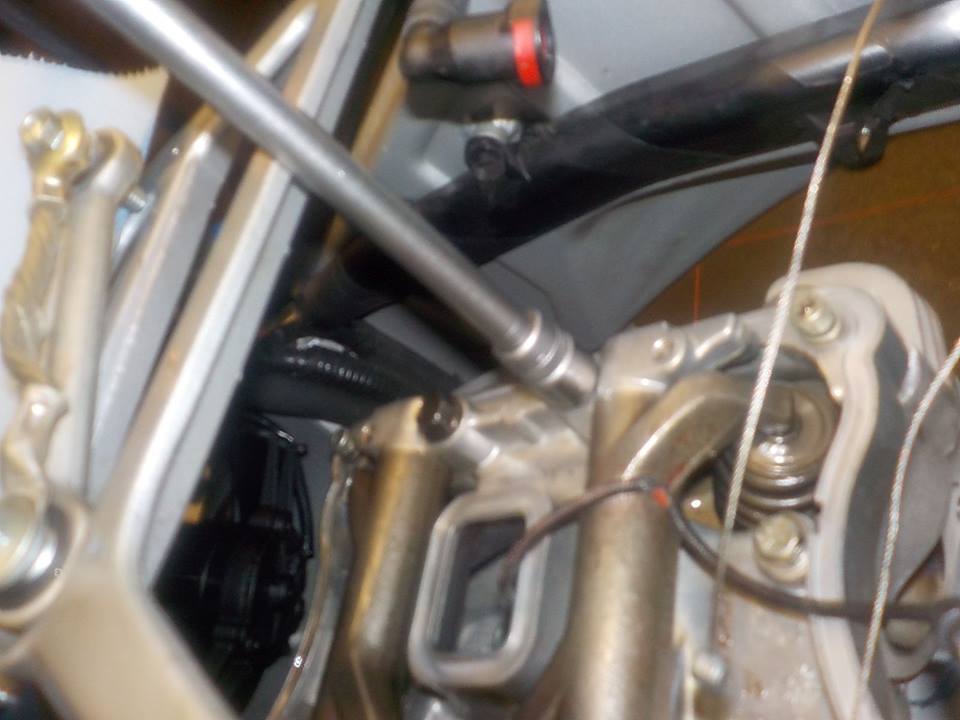
mounting top side

ready to start again

she is running even nicer... and no rattle anymore.. you here the smallest things with engine running very sweet, and stock exhaust.. now 40-50 km gently on the dyno.. so we can give here back to the customer

1125 cr, striping for head removal.. exhaust of

and front end out

front header of

ignition cover open again
.jpg)
remove the plug under the engine to locate and lock BDP

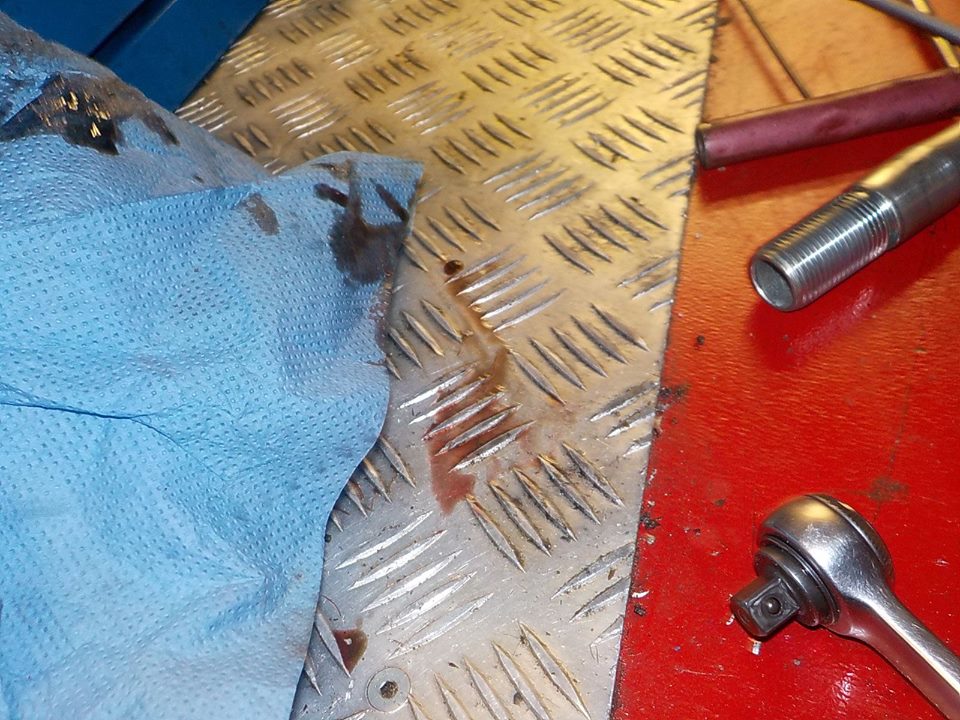
it will leak a few drops of oil removing the plug
crank tool

positoning it .. feeling turning the engine over to asure it is in the correct V-notch.. you will notice the v-notch.. still 2 changes front bdp or rear  ;-)
;-)

watter pump drain screw.. i behind the rear cover.. to remove the pipe is to much work

will do this the oldfashion way pulling of the hoses
.jpg)
compendation tank can be removed
