Articles & photos
| Back |
1-2-2018, XB12X inspection and repairs
17-4-2018 - What did we do today 1-2-2018 XB12X time inspection and repairs
we did a quick inspection, got a Ok fromt the customer for repairs.. so on we go
.jpg)
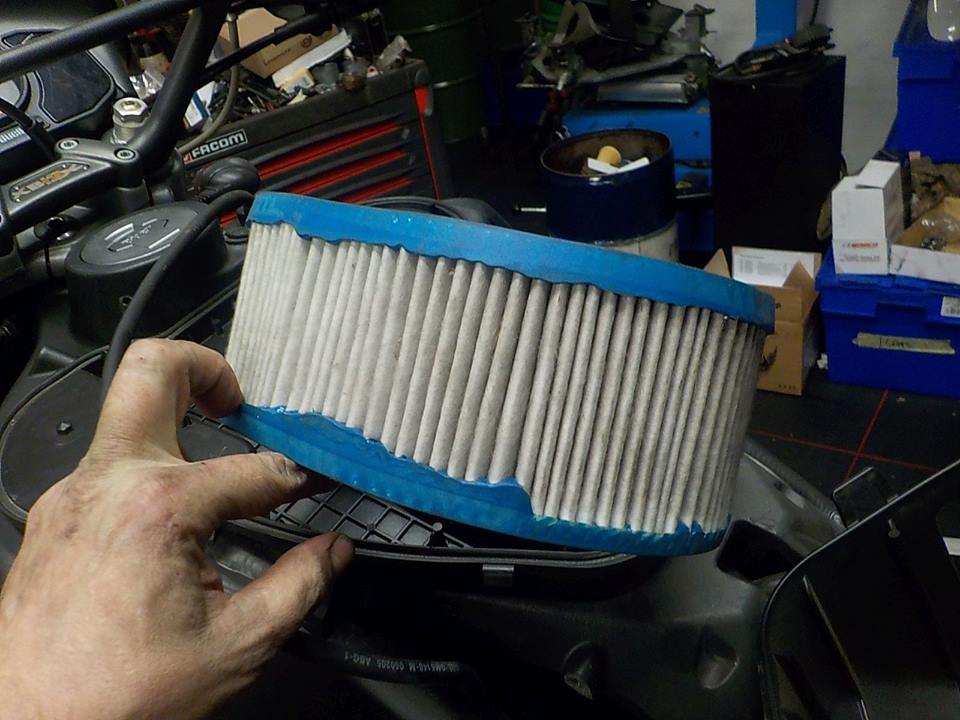
airbox off as we are going to rotate the engine , stock filter in looks ok for now.. i know the customer has plans.. one thing at the time
intake stack off

and cut the cables free

throttle cables need to come out the handle

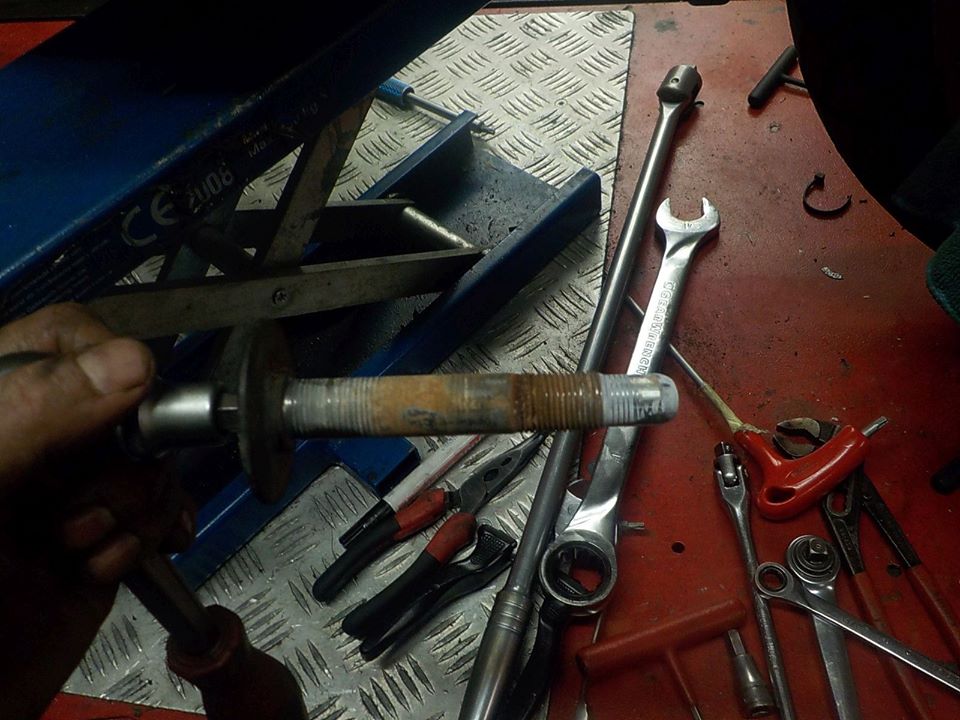
omg.. this is tight

need to fight the front bolt for every turn.. as the thread insert did come loose

with a counter spanner on the allen to hold it , so you can make a stroke with the ratchet , to tension the bolt / rubber
.jpg)
no room to use a 1 inch spanner to loose the insert of the bolt

after 15 minutes fighting.. arms are pumping.. i have enough room to hold the frame insert with a spanner

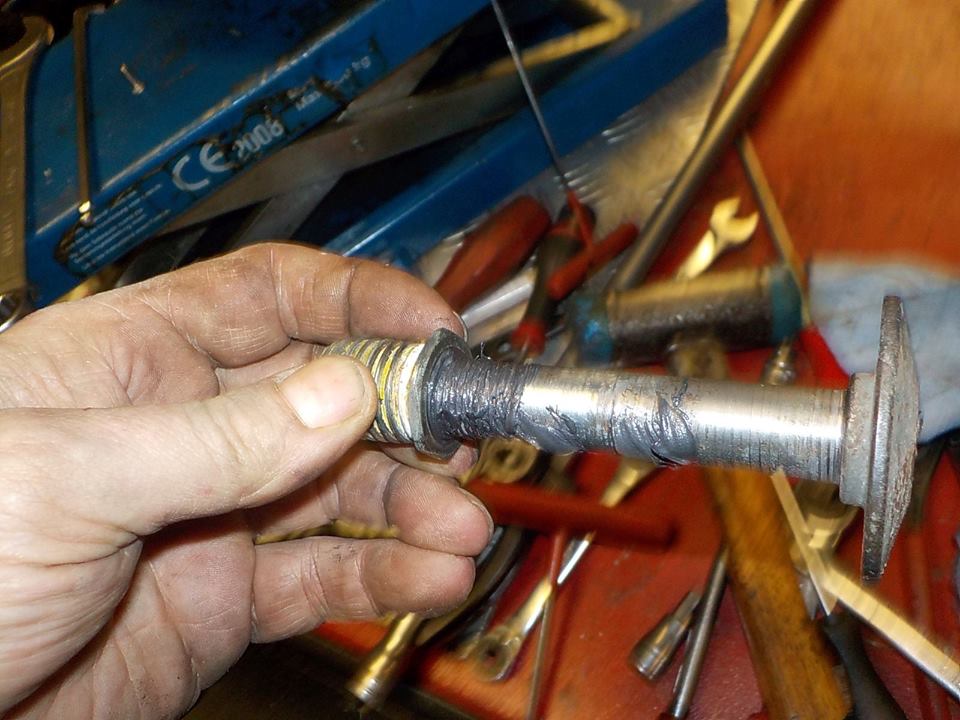
if this happens your bolt usualy looks like this, corroded
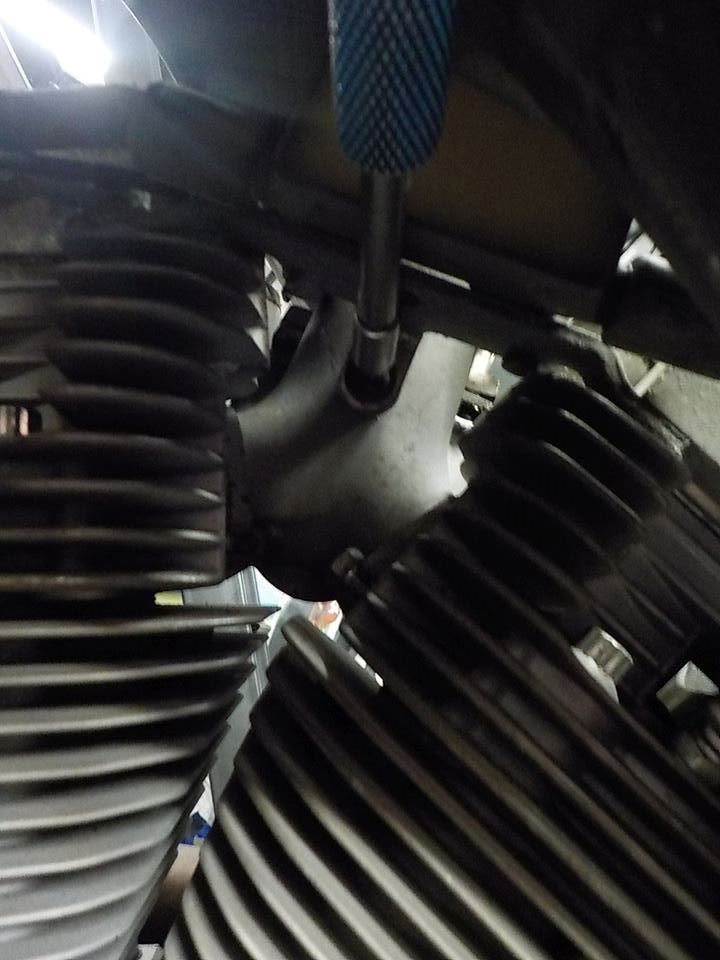
anyway.. engine rotated and removing the intake
.jpg)
vacuum bite marks on the seals

but off cleaning and new vacuum port cap on

when you notice things.. front spark plug cable is rubbing against the wire harnes like this

if you point the cable in, you have less problems with this
.jpg)
manifold in and tighen the mounting screw
now first to mount the thread insert back in.. to get a socket on.. the rubber bump stop needs to be removed

it can be stuck on

after cleaning the bolt , loaded with neverseas and screw it in to get the greas inthe insert
loctite on , as we not really want this to come out again
.jpg)
screwed in , size 1 inch socket

rubber stop back on

rubber stop back on
.jpg)
engine up and perfect.. can be turned in by hand

and setting to TQ

clutch cable is comming of

in the long run not relaible.. as 1 wire is already broken , and old model cable with out teflon liner

we need to remove the clutch mechanism

and the shifter bracket

old cable out, new one in.. screw it in as straight as possible , the cable will live longer
.jpg)
bit off lube on the adjuster to protect against corrosion

shifter bracket on.. drop off red loctite on the bolts

clutch adjusted.. gatter on.. small ziptie on the ends to seal theme

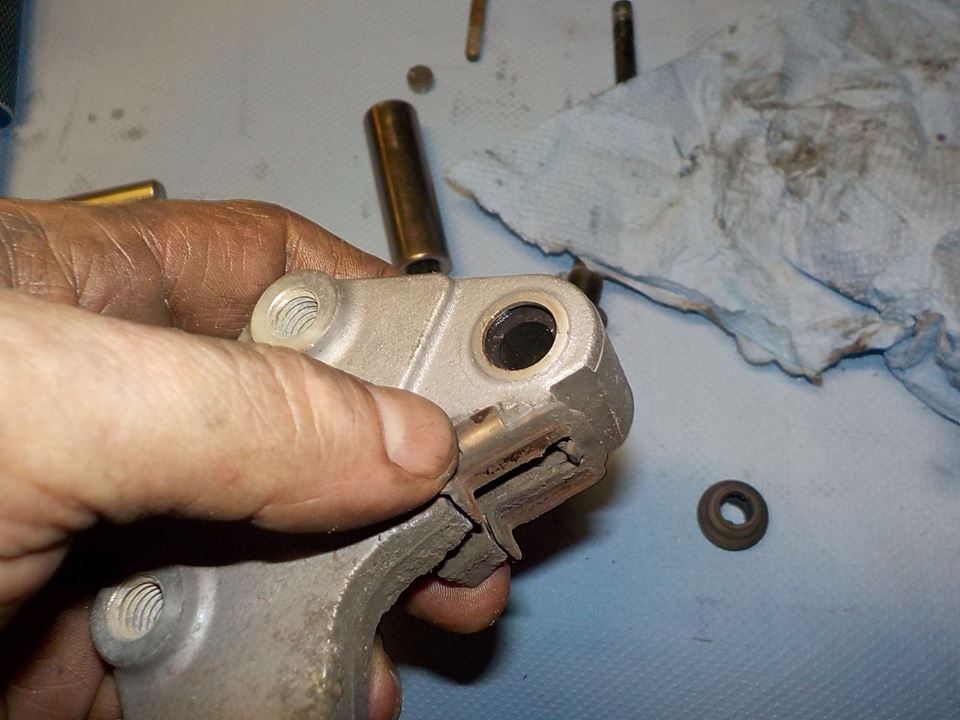
rear wheel bearings where done , one side is actualy frozen and i can not turn it by han

rear caliper loosening the bolts and pins.. all a little corrode
.jpg)
needed to use force to get the pad pin loose

little uneven wear on the pads , best to check and clean the sliders

rubber loose, and cleaning the hole
fresh thick grease in
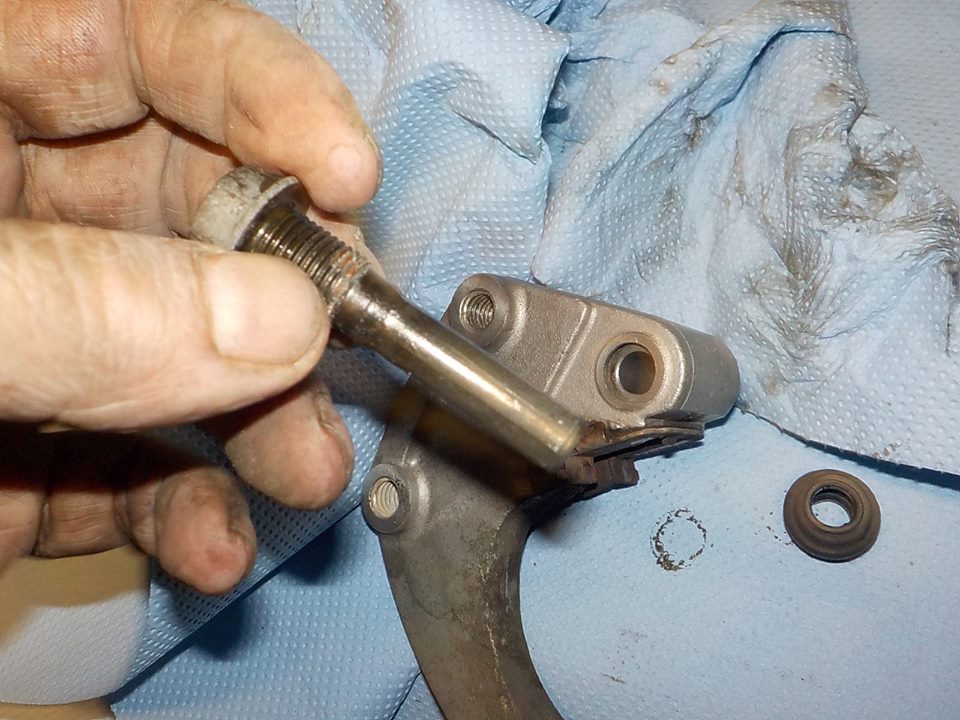
and mount caliper to the bracket.. line up the bolt.. can cross thread it easy
.jpg)
little cleaning an a dab neverseas.. so the pin will not corrode solid
.jpg)
and mounting back with new pads

oil filter on

and setting the primairy chain tension as it was a little to tight

chain sticky lube.. very good for side stands

front side

wheel out, for bearings and disk

new bearings pressed in
(1).jpg)
disk removed.. the springs are corroded in the holes and do not work properly

with thin screw driver.. needed to pull theme out hard

not drilling.. but honing the hole clean

our new springs.. stainless steel .. i still give theme a light coat of neverseas

and new disk on... like these very much.. brakes very nice

little drop off blue loctite and screwing in the bolts , line the spacers out correctly

and set to 35 Nm
.jpg)
new pads in the caliper

and front wheel back in
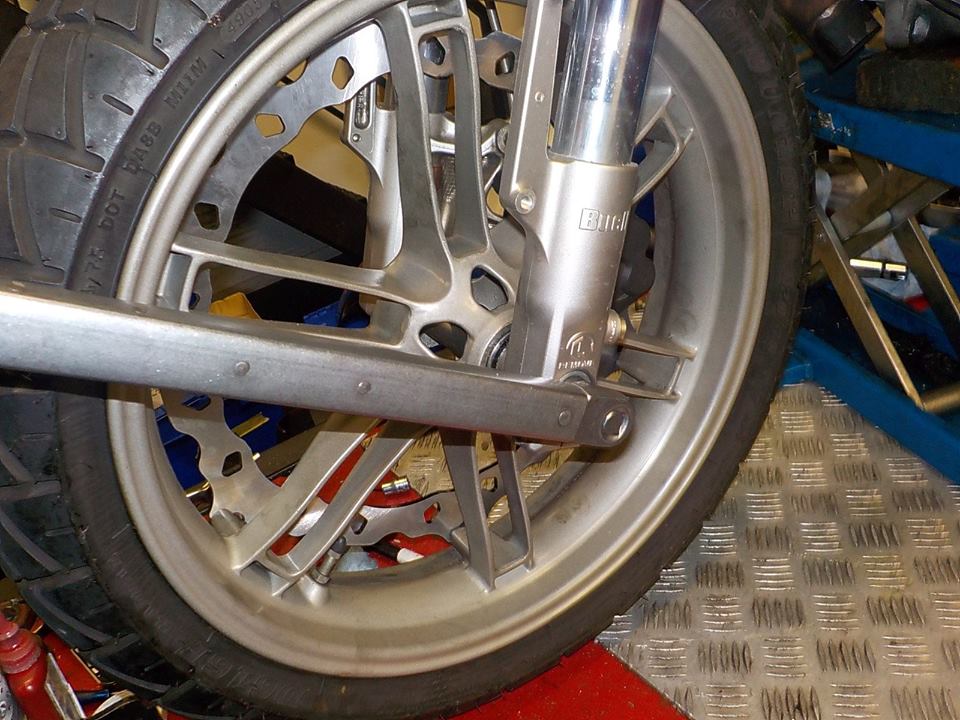
loctite on the caliper bolts and set to 50NM

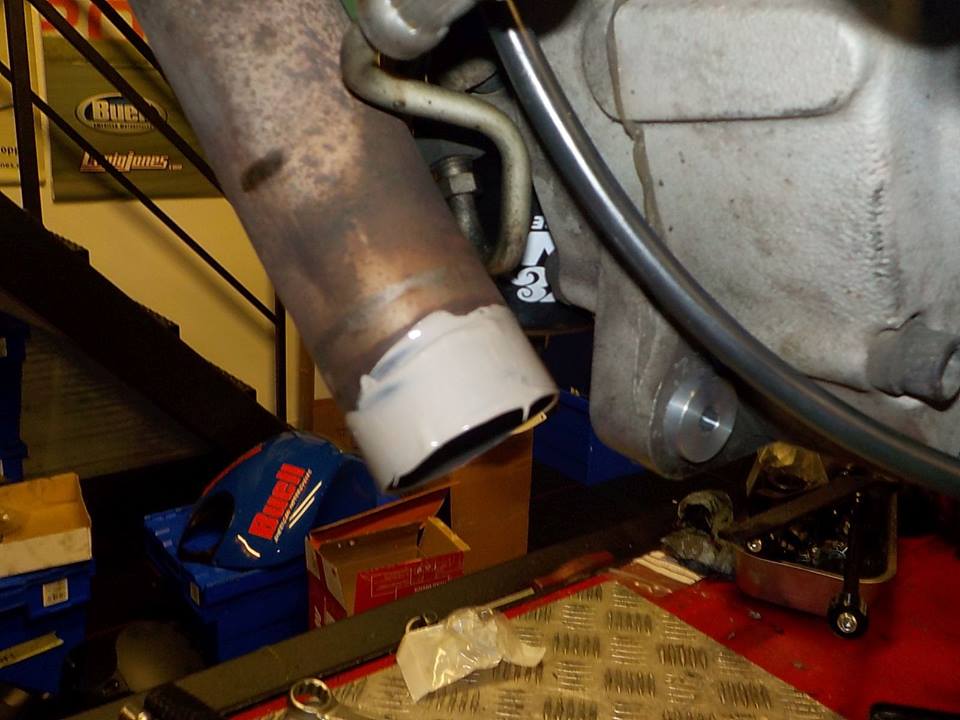
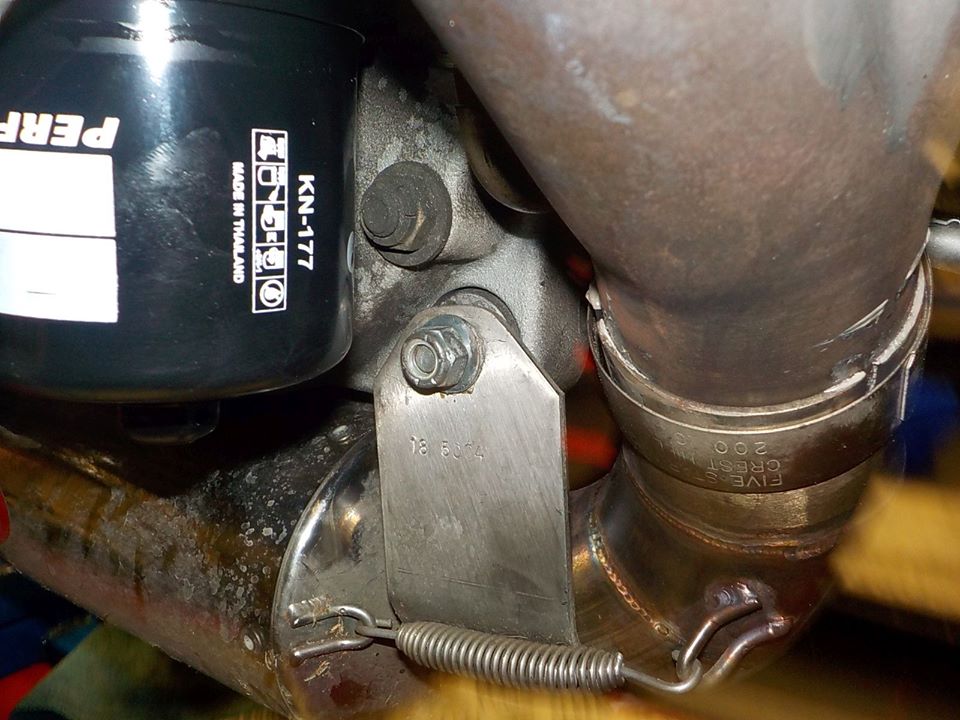
exhaust.. mount the missing bushing, so the exhaust is hold on

defenaly was not tight.. has been ratteling and leaking

to help seal some firegum on the collector
and swapping the jardine bracket around
.jpg)
better like this.. no spacers needed anymore
and exhaust is exiting next to the tire , instead off right on the rear tire

a few taps with a rubber hammer to seat the slip on and tighen the clamp

chin spoiler bracket on
.jpg)
mnnn to close for my liking.

little bending on the bracket. better like this

moving to the top .. the throttle cable show also some corrosion .. a coat grease will help theme not sticking solid in the bracket after time

cleaning up the brake lever
.jpg)
hard and crusty grease.. you could here the lever creak

cleaned and fresh grease.. a joy to pull the brake lever  :-)
:-)

cleaning up the connection , ziptie the tps wire to the fuel rail , so the vibrating will not hurt the tps wire connection

stack on.. check it is mounted correct
.jpg)
quick ecm reposition . so the seat will not rest on the connectors with the change off big problems with the ecm cracking

as i noticed the solinoid motor was stil on , but no longer functioning , i will program it out

and she is running.. she will run much better with a fuel map.. but that is later

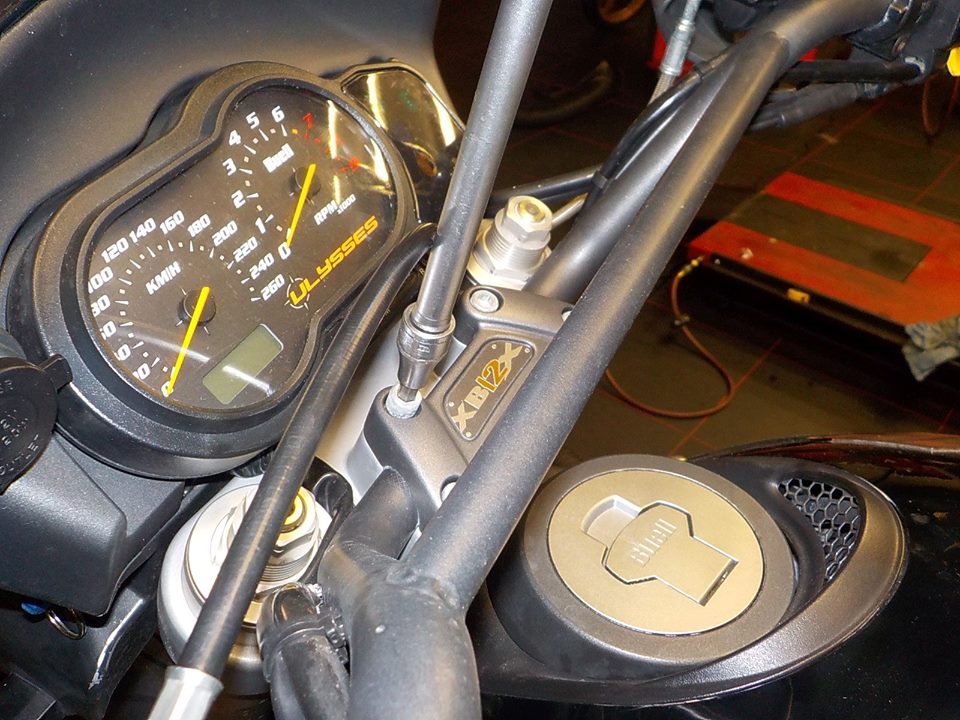
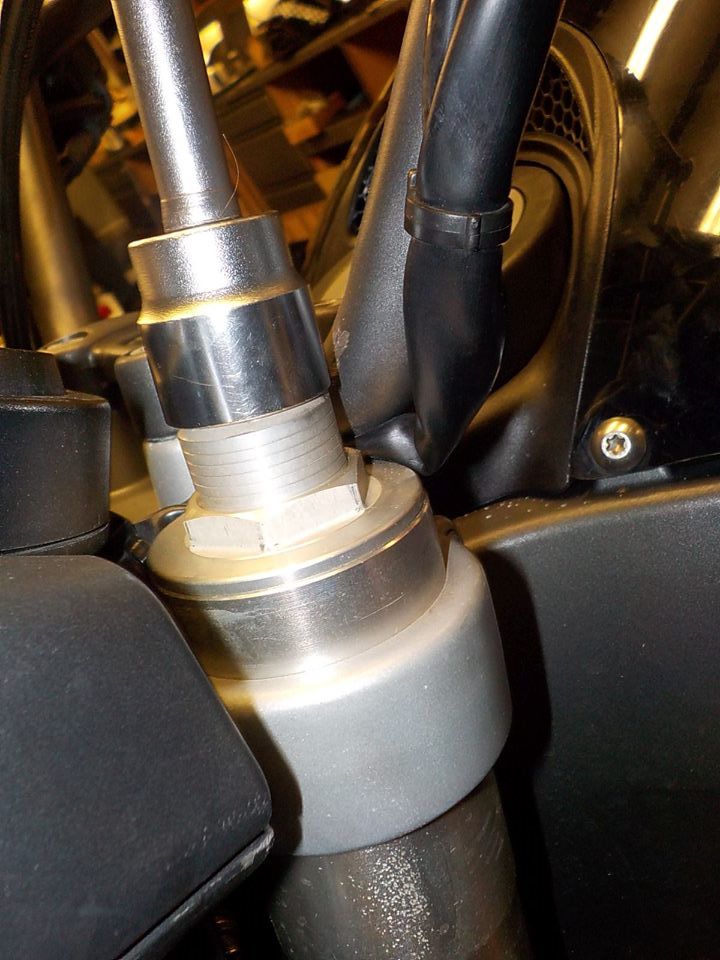
front end, as the steering head knocks , bearing need retightening , front lifted and lower clamps bolt loos

handle bar clamp of
and retightening the steering bearings

when done, fasten the lower clamps bolts again

i will set the suspention also .. as everything is real soft.. way to sof
brake fluid. cloudy with a chance of ..

the old fluid left a coating .. yuk

some cleaning later.. and fresh fluid in
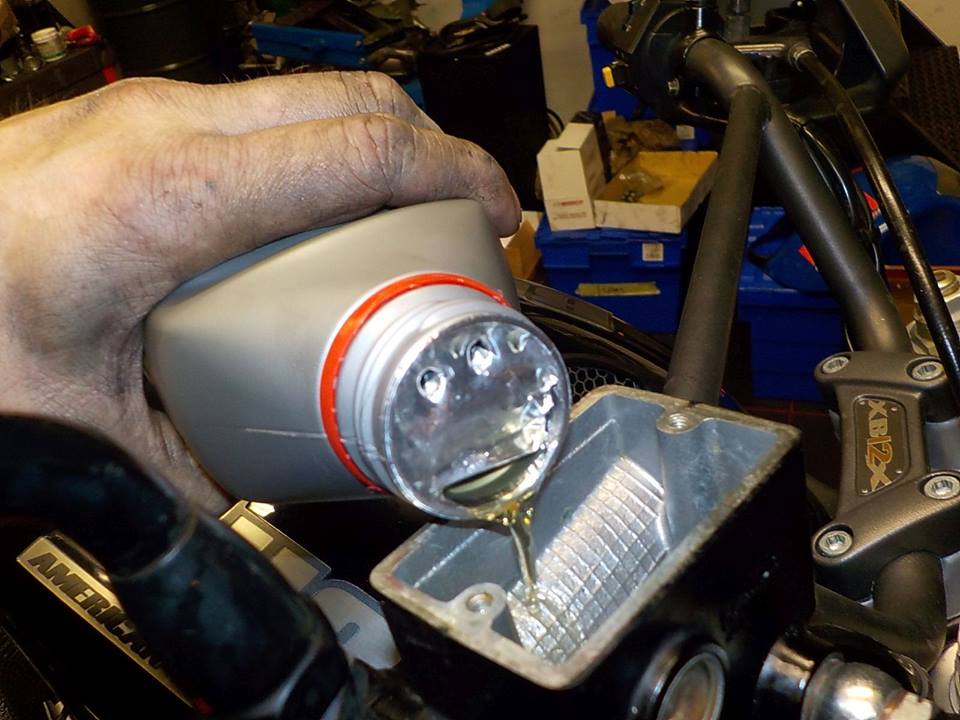
looks better..

the same rear.. and test ride.. :-) nice Uly
