Articles & photos
| Back |
16-12-2017 Buell XB9R engine mounting
26-2-2018 - 16-12-2017 Buell XB9R engine mounting
frame lifted and engine in position
locating the rear mounting point
.jpg)
bolt in and tighten... need to retorq this when the engine is in position

front bolt in for now, engine is going down more time anyway

swing arm will go on next

axle in , can he hard to find the center

and thighten the axle

pinch bolt tighten

and shock bolt on
.jpg)
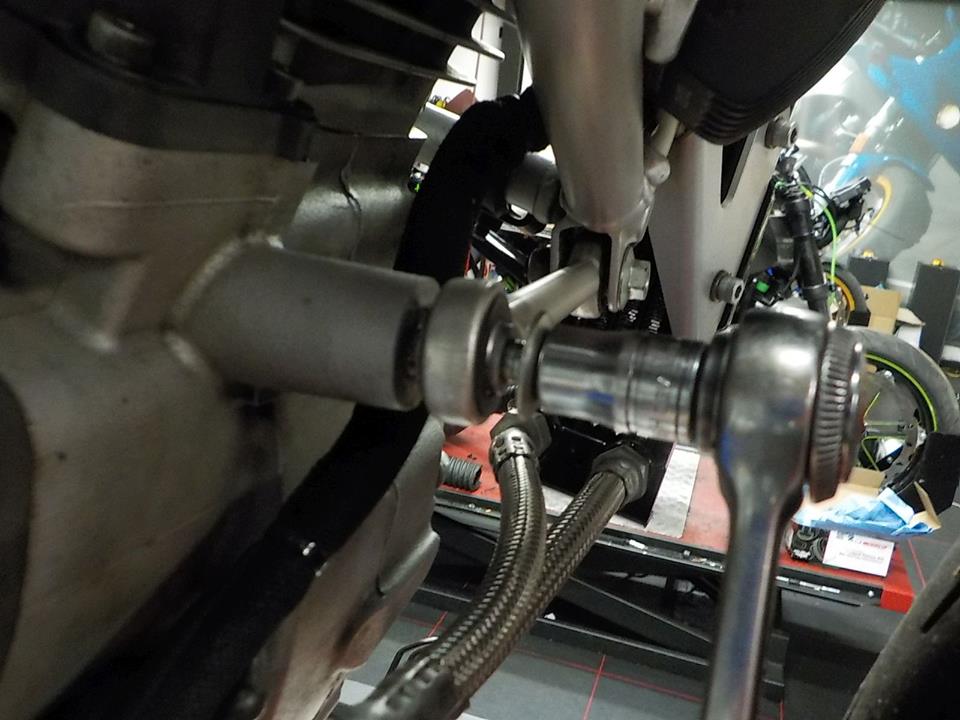
battery cable mounting to the starter motor

rear tierod bolt... this bike keeps amazing me..14 years old and 50000 km done... and it still looks like new

wire harness cover plate on the case for protection

prepping the sidestand switch

normaly people can not be bothered.. but in this came i mount this back as it came out the factory
.jpg)
new shrink seal over the connector and ziptied to the rod to route the cable

red loctite on the bolts and tighten the side stand

cleaning uoo some electrics... follow the colors

timing trigger cup on

and trigger sensor on
.jpg)
again follow the colors to put the connector back on

oil lines. nee to be mounted , the paper labels are still on there

hand tight theme in the fitting.. these cross thread very easy

and loosly mount the lines to the oil pump

a line wrench helps to not fuck up the hex nuts

and use counter spanners.. the fittings can break or get loose

with a clean working field, easier to mount eh w-brace with oil cooler and VR first
.jpg)
temp mount this
mount the oil cooler lines use a counter spanner

the oil cooler line to the oil pump just douse not want to line up
.jpg)
to prevent damage.. better to loosen the line on the cooler it self, and tighten

regulator wire.. with ziptie around the oil pressure switch

stator plug back in position

electics look good

primairy on .. XB you can pull out the hub with sping and plates

inspect the springs in the back .. normal you find or 2 broken

inspect the hub bearing and prelube it for mounting
.jpg)
now first the shifter firks needs to go on

than the primairy drive.. i use red loctite on the nuts

the clutch ,main the rings is marked as it sould be mounted

pulling plate in, check the c-clip it locks and seats very goog

positioning dowls in
.jpg)
the old 03 tensioner shoe ( the black one ) is worn down... the new blue one is much better wearing
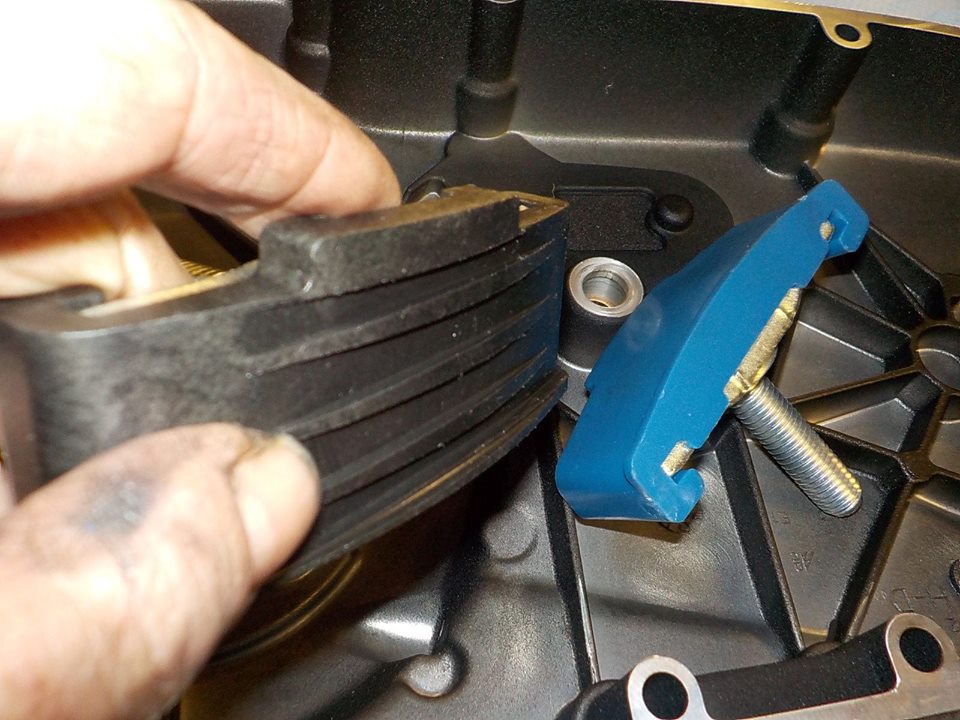
the "locknut" needs the nylon facing the cover as this seals the threads

new shifter shaft seal

easy with the cover off  ;-)
;-)

putting the cover on... push the chain on the tensioner and slide the cover on

drop off blue on the bolts

and tq to 14 Nm starting in the middle and spiral out

check ... is tight

so oil in

and clutch cable on

some lube on tht outer adjuster

and adjusting the clutch mechanisme

shifter back on.. a drop of red loctite onteh screw

and tighten the other screws
.jpg)
next headers

mnn nedd to adress this .. has been rubbing on the O2 sensor

yeah... 50000 km and 14 years... the header nuts are not corroded

header on line the header up in the port so the flanges are alined
coil bracket in , aline this center

the old intake seals where short , nice visible vacuum bite marks

and throttle bodie on
.jpg)
last time rotating up.. don't forget the breather valves

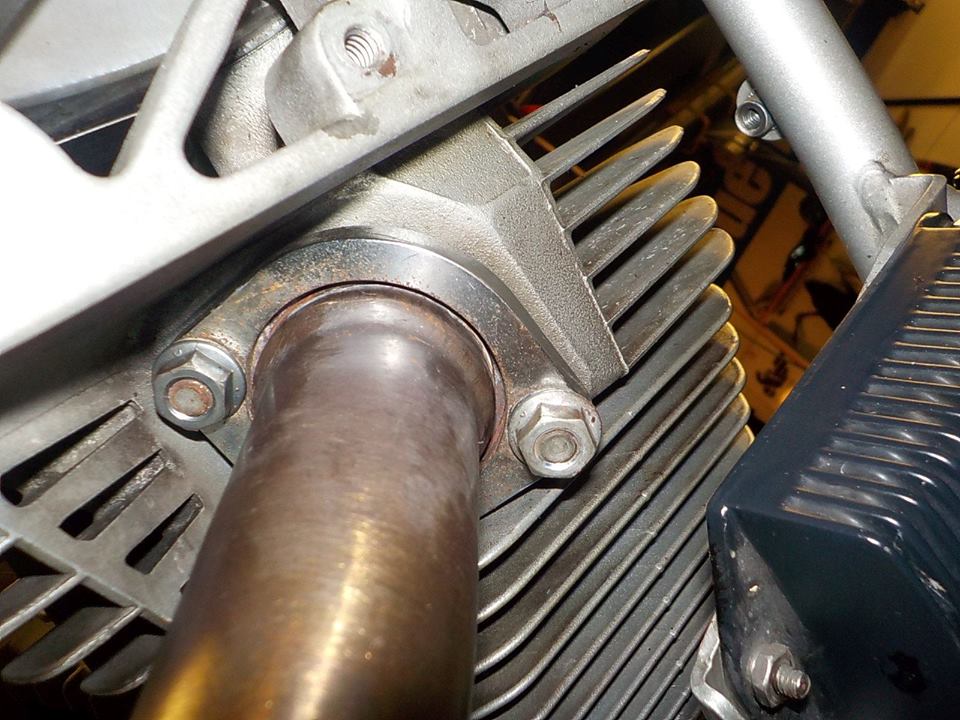
engine mount and tighten to 66 NM

W-brace on

clutch cable adjusting

and put in the brackets

starting to look like something... she is going to be home for chrismas
